Frame
Frame is where you compose a visual for a post: a shader-driven image card you can style, drop a screenshot onto, and export ready to ship.
Free to use Frame is free for everyone, no subscription required. Exports carry an MBER.app watermark, and subscribers get a toggle to remove it.
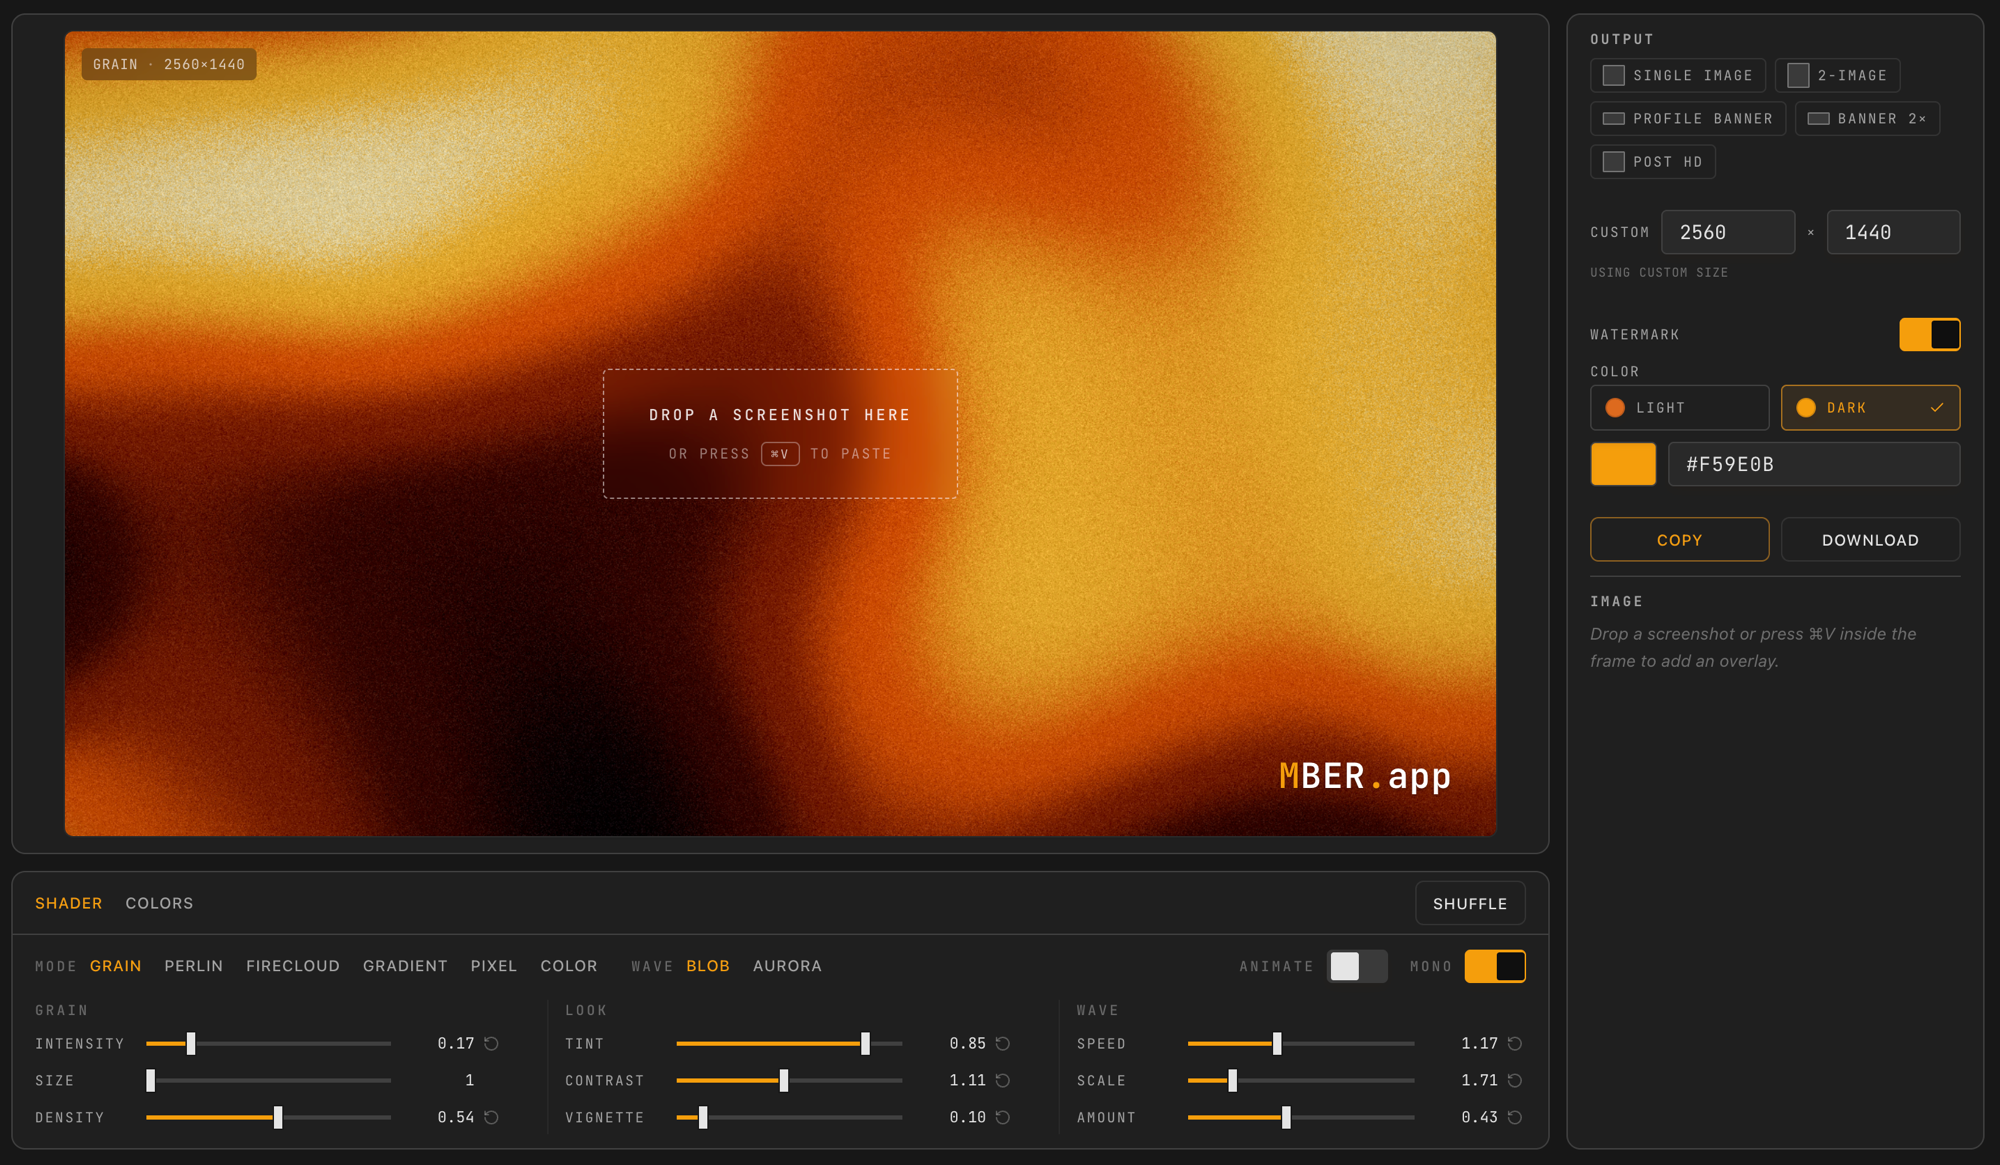
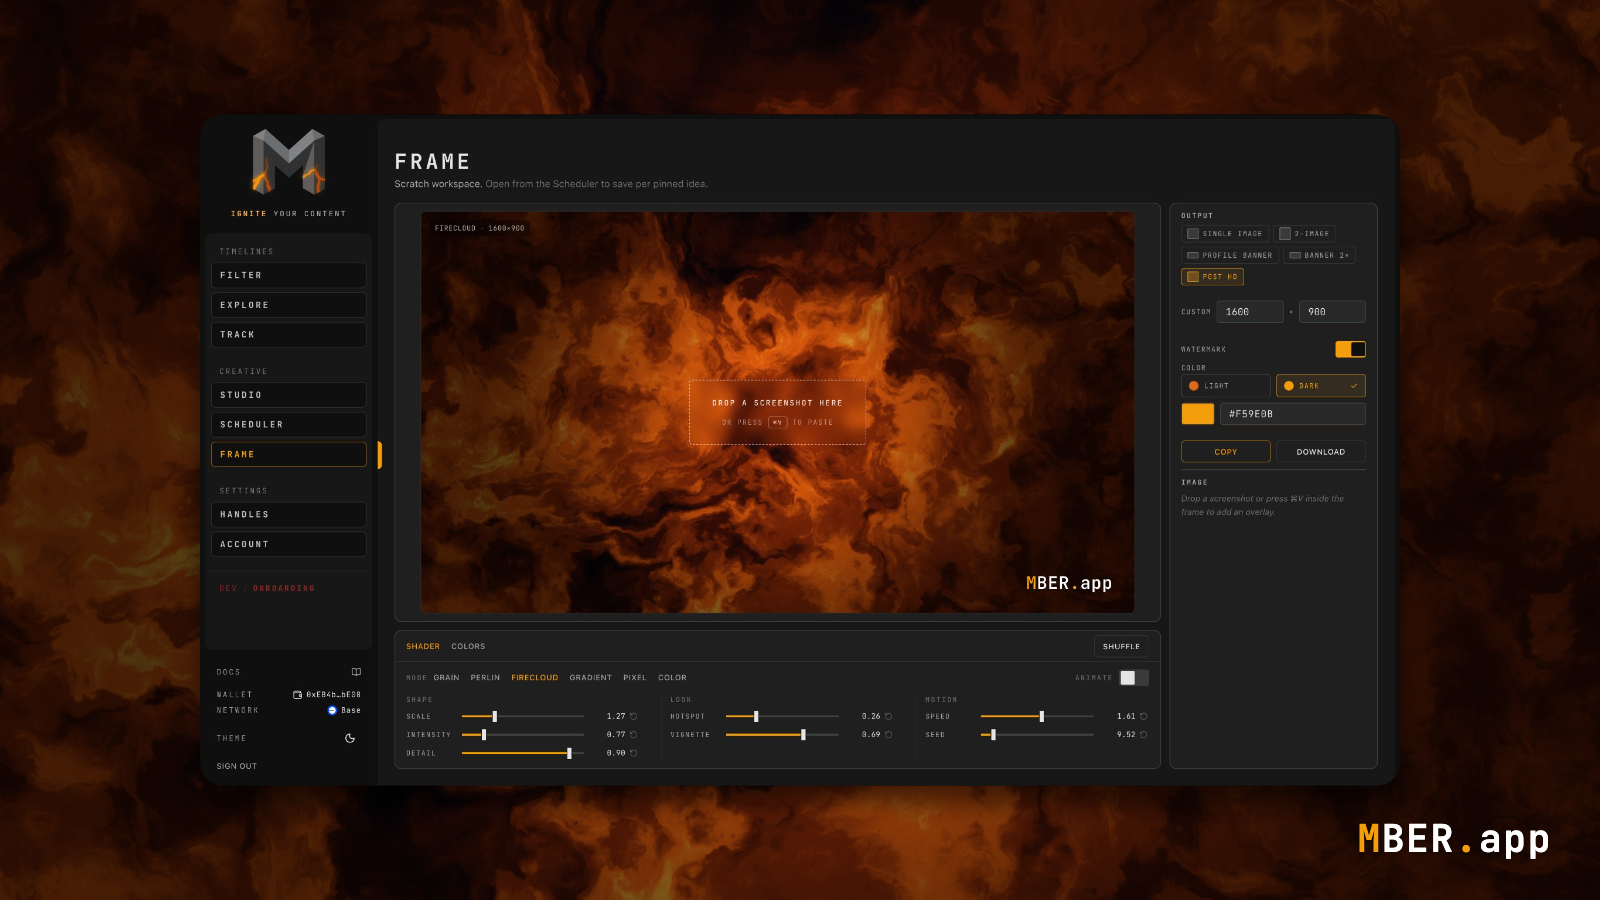
The composer
Frame has three surfaces:
- A canvas panel in the top left shows your design live as you edit it, sized to whatever export resolution you pick.
- A shader settings panel along the bottom chooses the background look and its controls.
- An output settings panel on the right handles export size, an optional image overlay, and copy or download.

Choosing a shader
The shader strip drives the background. Pick a Mode and tune it with the grouped sliders. Most modes have an Animate toggle for live motion, and a Shuffle button rerolls the current mode into a new random look.
Grain. Film-grain texture over a soft wave. Choose a Blob or Aurora wave, dial in intensity, size, density, contrast, and vignette, and flip Mono for a single-tone version.
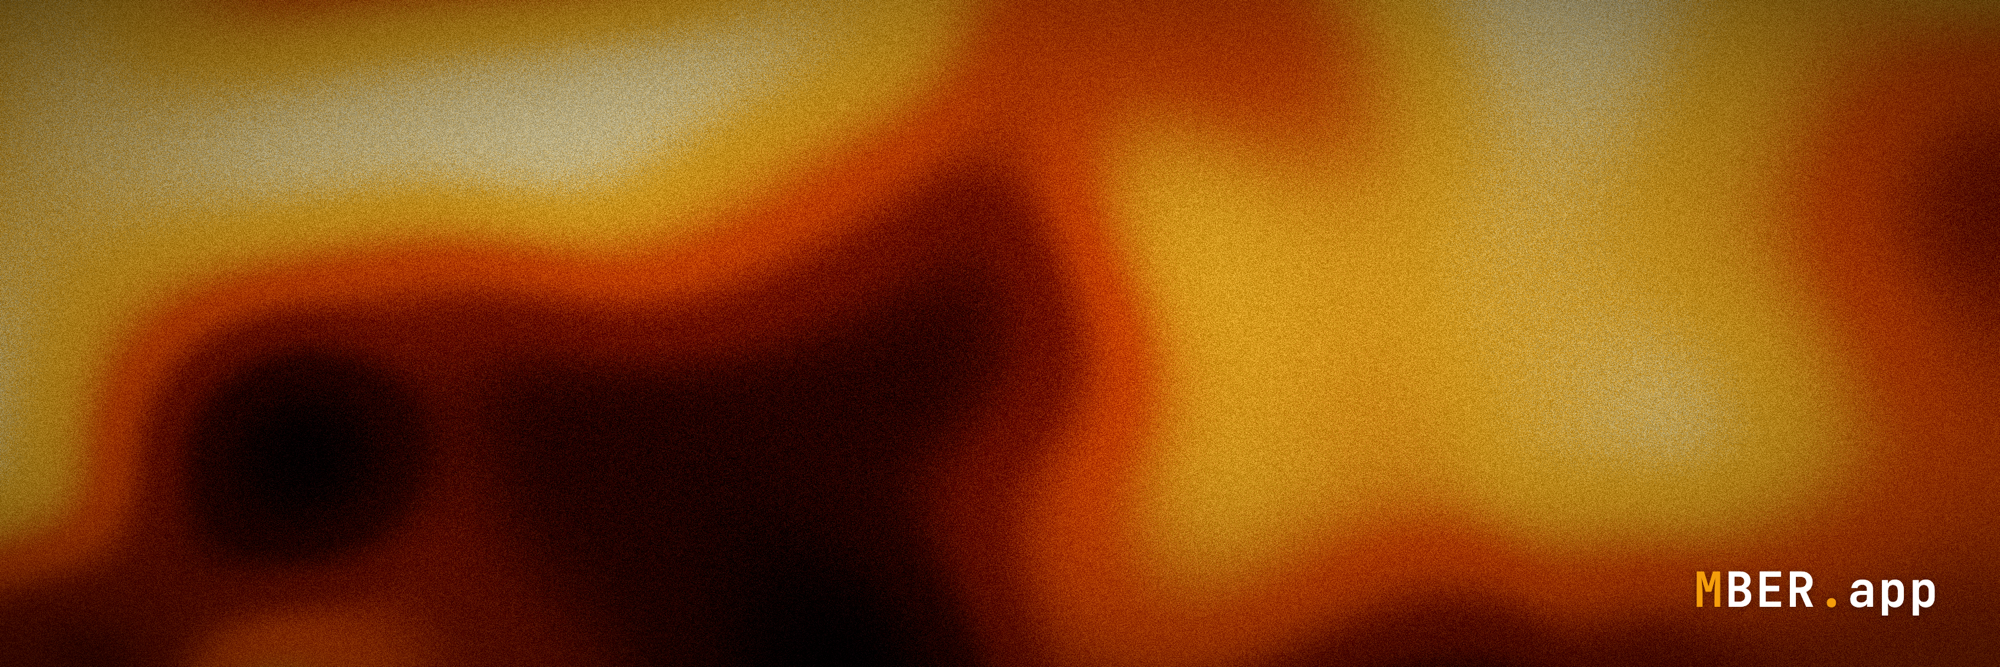
Perlin. Layered noise with controls for scale, octaves, persistence, lacunarity, warp, contrast, and speed.
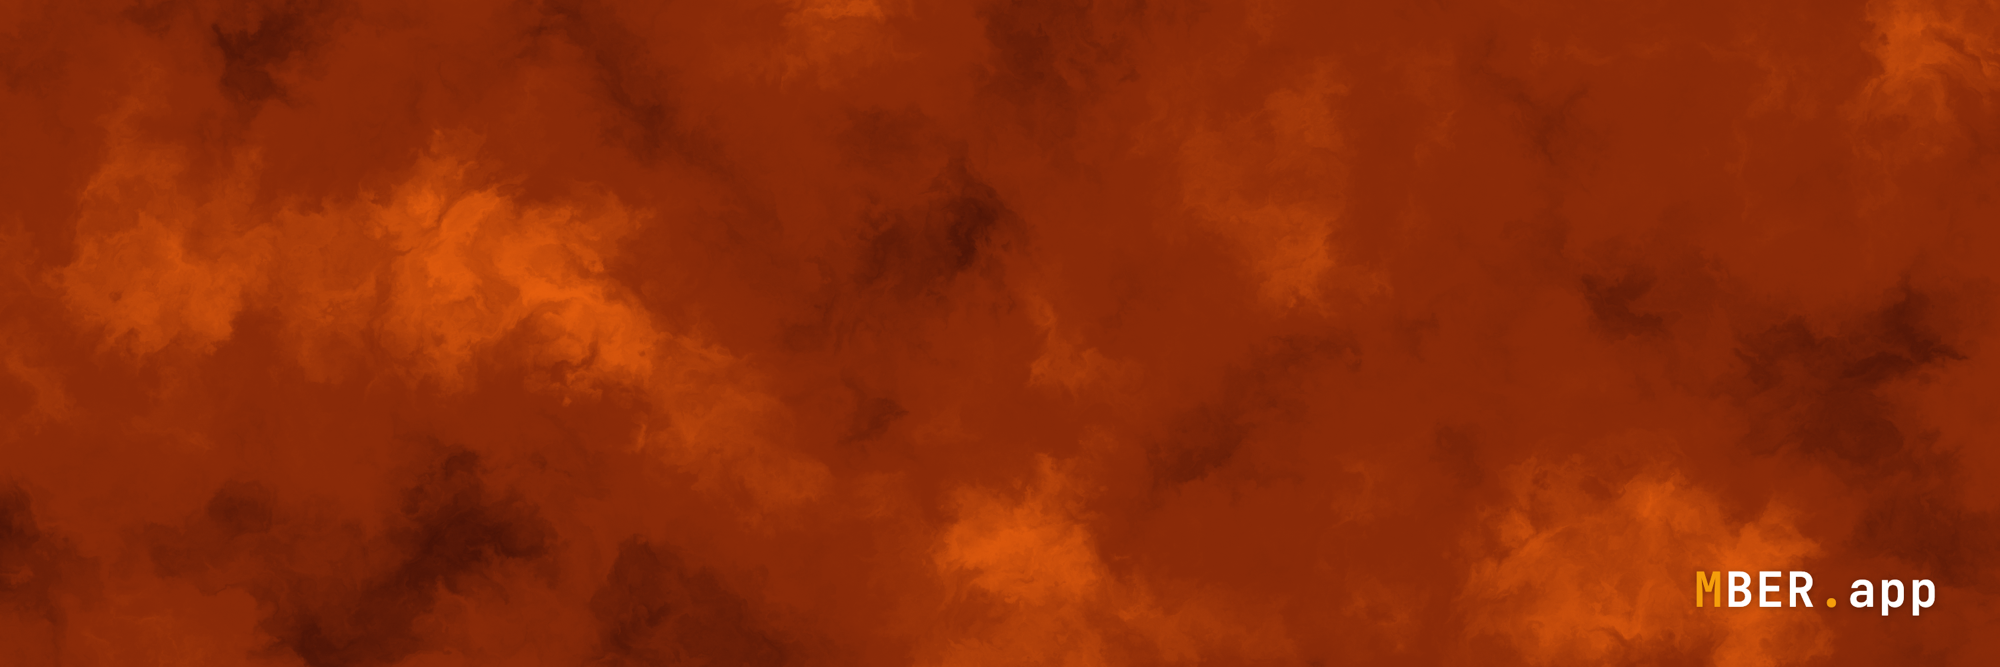
Firecloud. Billowing cloud with a glowing core: scale, intensity, detail, hotspot, vignette, and speed.
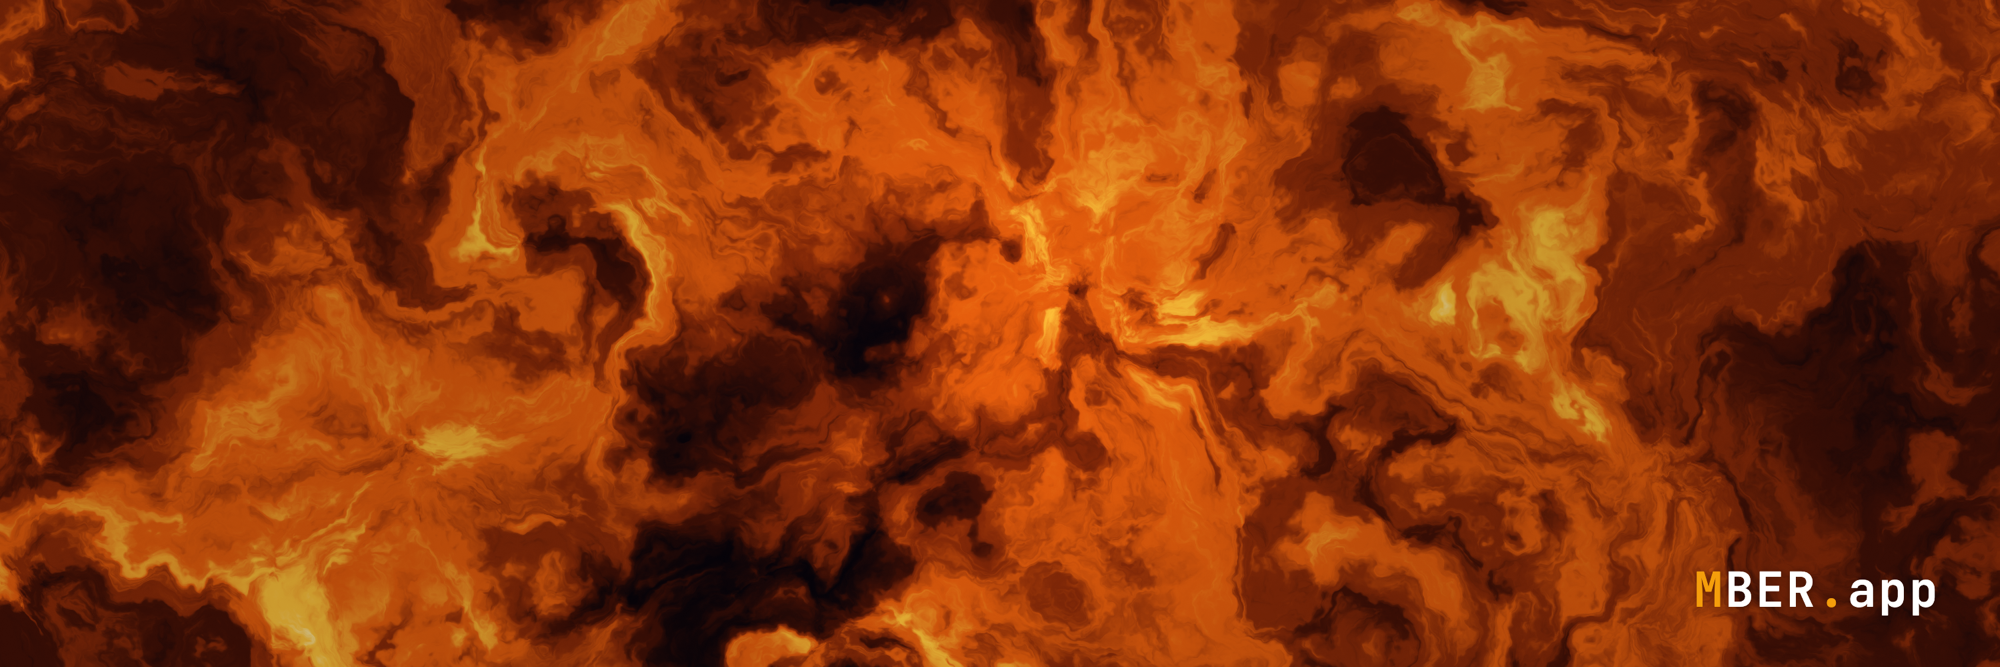
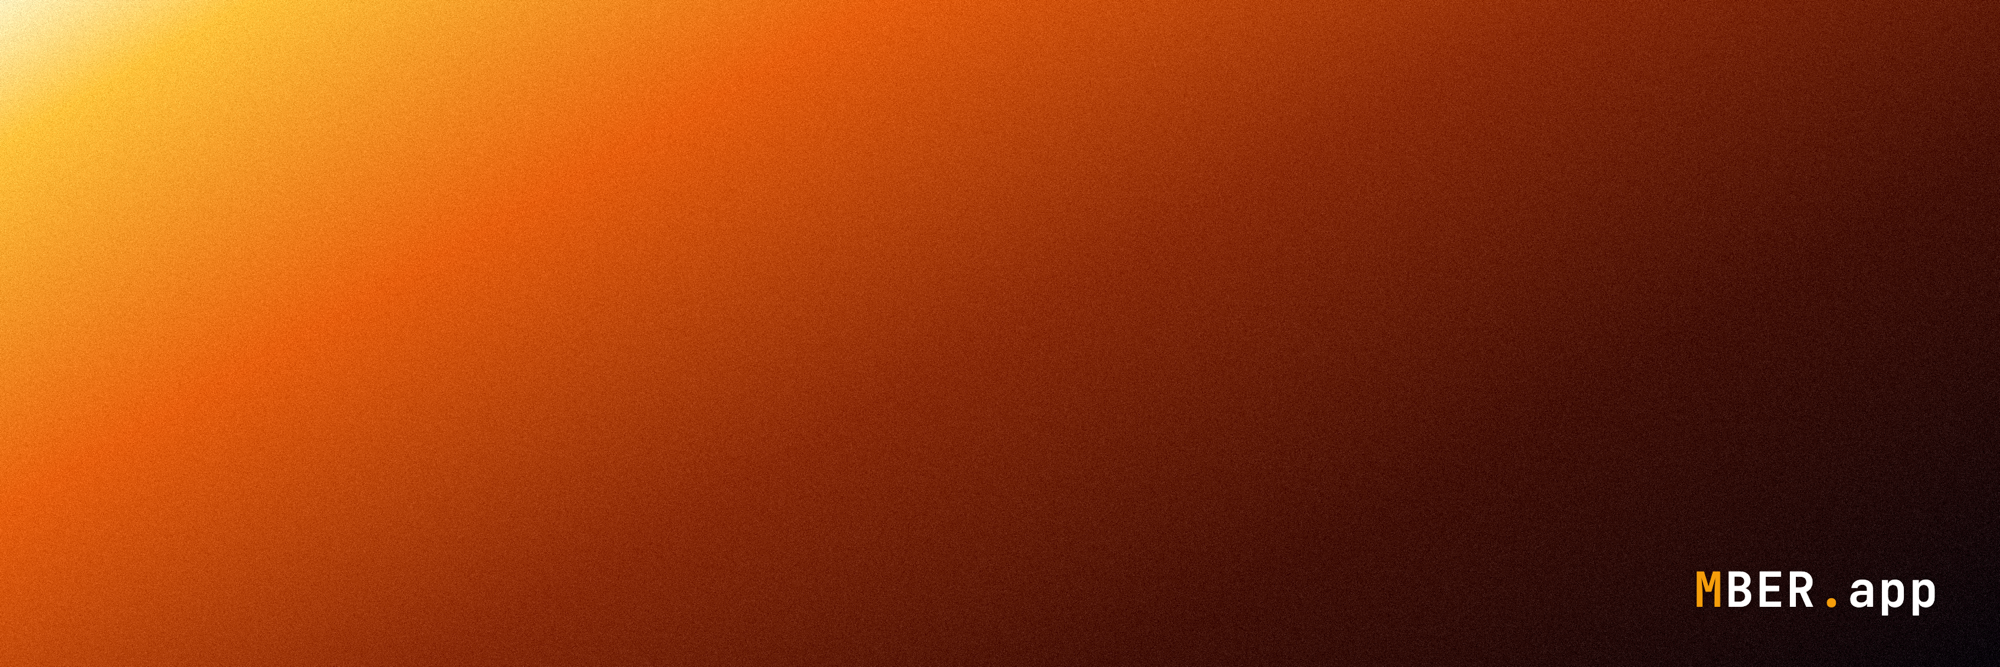
Gradient. A clean color gradient in Linear, Radial, or Conic shape, with angle, center, and radius controls depending on the shape.
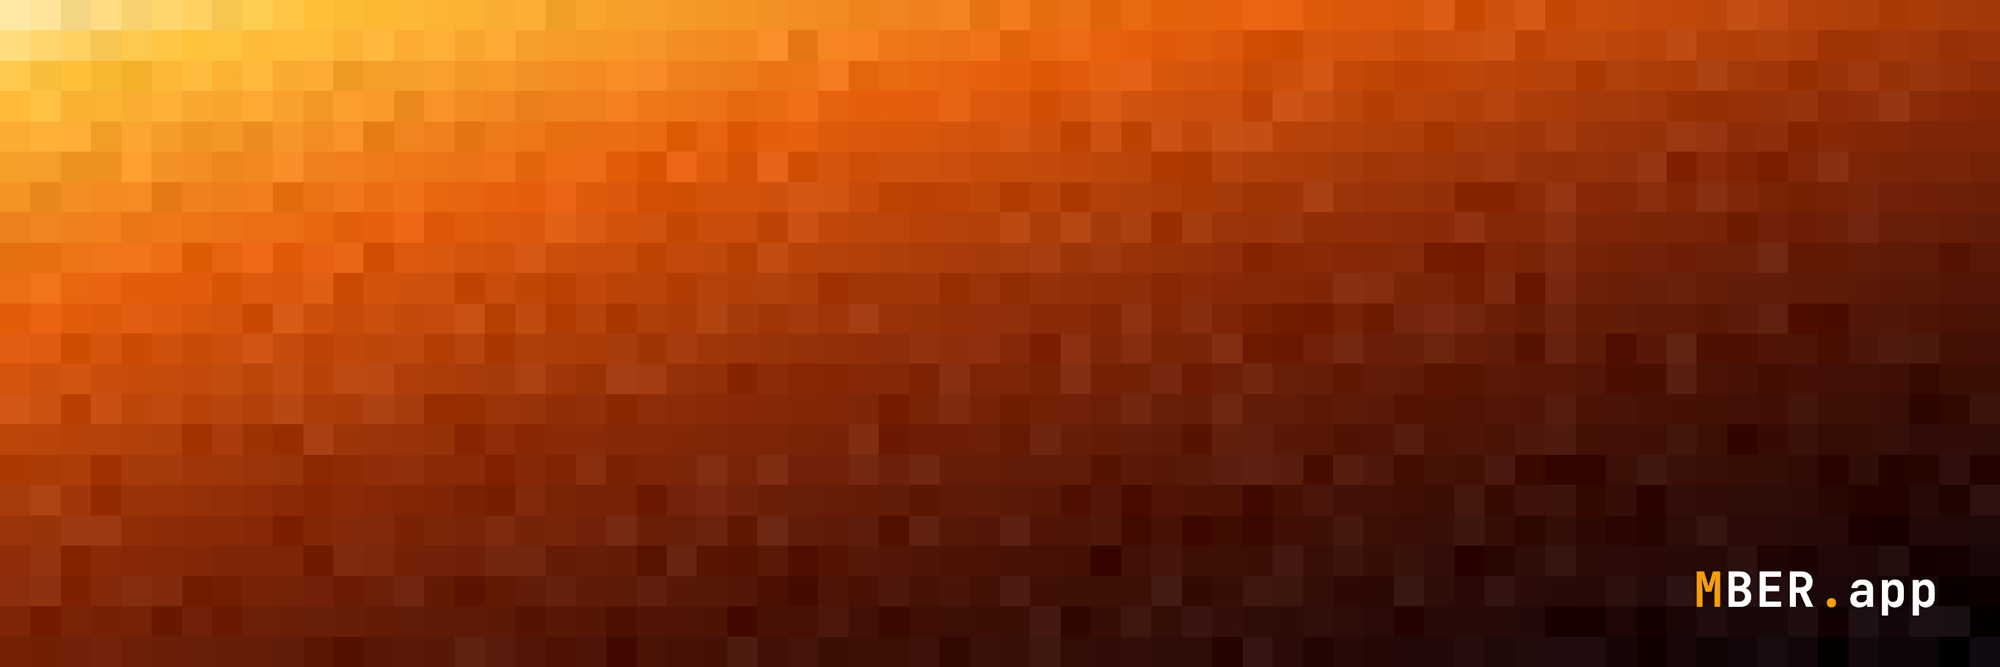
Pixel. A blocky, mosaic rendering of the palette with an adjustable cell size.
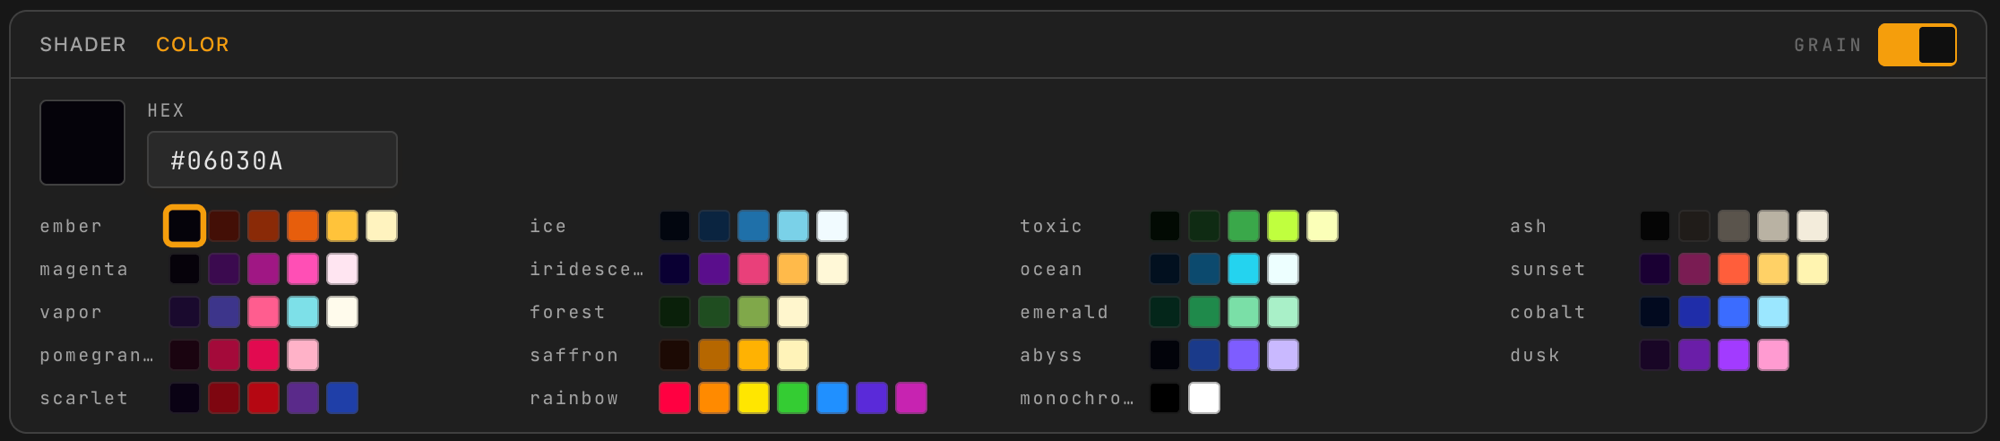
Color. A plain solid fill. Pick the color in the Color tab.
Colors
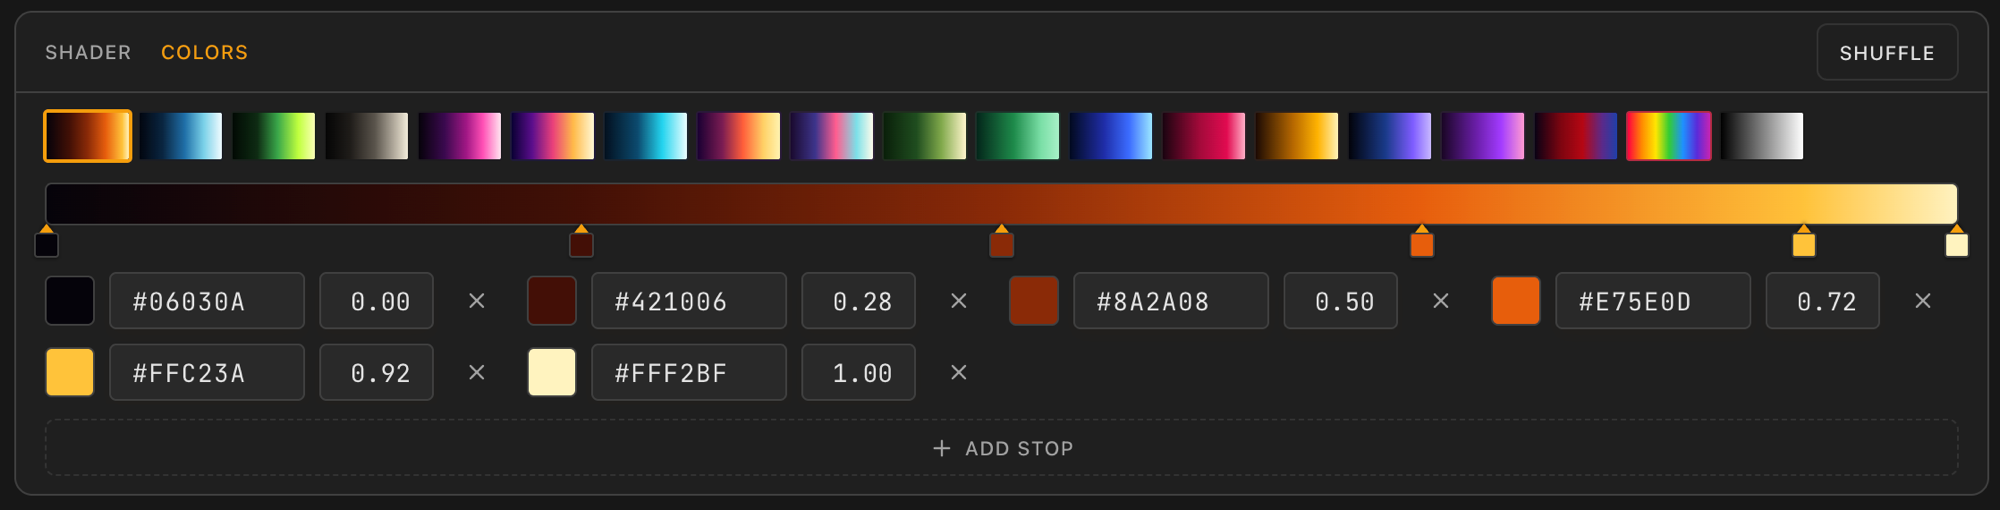
The second tab (labelled Gradient, or Color when you are in Color mode) sets the palette:
- For shader modes, pick a palette and fine-tune it in the stops editor, adding, moving, and recoloring stops along the gradient.
- For Color mode, a single color picker sets the fill.
Adding an image overlay
Drop a screenshot onto the canvas or press ⌘V inside the frame to paste one on top of the shader. Once an image is in place you get:
- Position. Slide the overlay's X, Y, and Scale to place it on the background.
- Bezel. Round the corners with Radius and lift it off the background with a drop Shadow.
- Clear image removes the overlay and returns to a plain shader background.
Exporting
The Output section sets the canvas size and gets the image out:
- Pick an X preset (single image, 2-image, profile banner, banner 2×, or post HD), or type a custom width and height.
- Copy puts the rendered image straight on your clipboard. If the browser blocks clipboard access, Frame downloads the file instead.
- Download saves the image to disk.
Exports capture the current animated frame, so what you see on the canvas is what you get.
Working with ideas
Frame currently runs as a scratch workspace: open it from the sidebar, design freely, and export what you make. Scratch designs are temporary and are not saved against an idea.
Designing against a specific pinned idea, with the design saved to it automatically, comes back alongside post scheduling.
Desktop only - Frame needs room to work, so it is disabled on phones and small tablets. To use it, open MBER on a larger screen.