Using MBER
MBER is a handful of surfaces, reachable from the sidebar inside the app. This section has a page for each one. Here is the map.
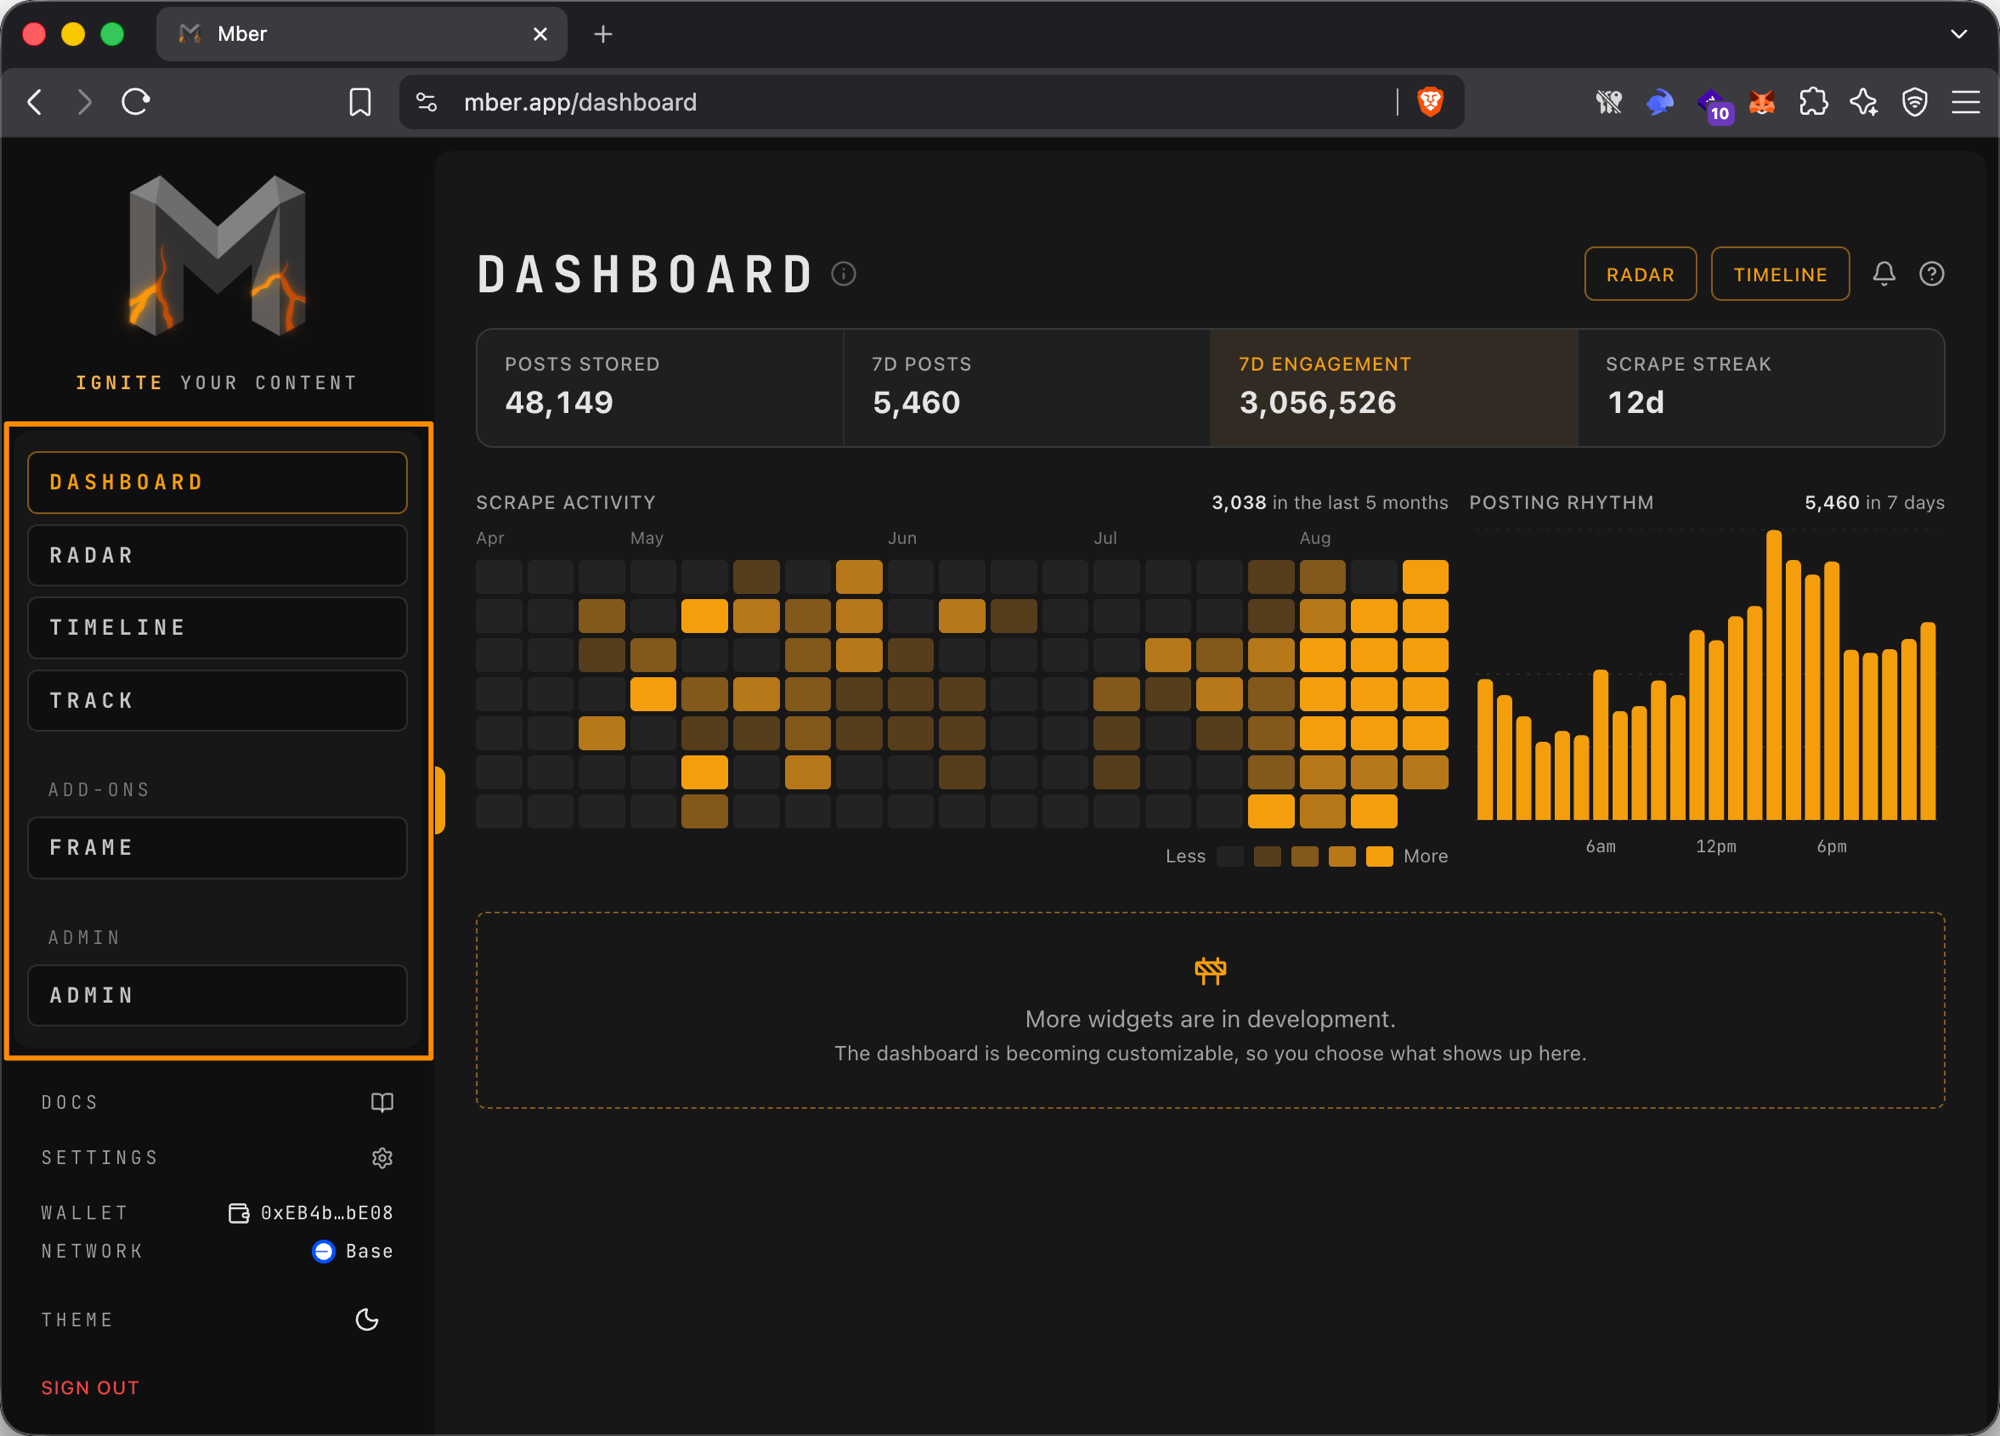
Dashboard
Your landing pad: the numbers behind your watchlist, a day-by-day view of scraping activity, and when the accounts you track actually post. Full walkthrough on the Dashboard page.
Stories
When forty accounts post about the same thing, Stories folds them into one story instead of forty posts, places it on a world map, and keeps rewriting it as coverage grows. Full walkthrough on the Stories page.
Timeline
Your main feed, and the surface you will spend the most time in. There is one timeline, and the Scope switch decides whose posts fill it. That gives it two jobs:
- Filtering. On your watchlist, narrow the feed down to exactly what you want: by account, by category, by date range, by rising theme.
- Exploring. Switch to Everyone or Peers and the same filters point outward instead, at every account on MBER or at the accounts read by people whose watchlist overlaps yours.
Same feed, same controls, different pool. Pin the posts worth keeping and turn them into drafts on the idea board. Full walkthrough on the Timeline page.
Track
The per-account deep dive: pick any handle you track and analyze it on its own, with headline stats, recent activity, follower growth, and a filterable feed of its posts. Full walkthrough on the Track page.
Frame
Compose the visual for a post: an image card you style with backgrounds, text layers, and shader effects before it ships. Full walkthrough on the Frame page.
Settings
Manage your tracked handles, your profile, your plan, and your usage. Full walkthrough on the Settings page.
Each surface has its own page in this section with a walkthrough and screenshots.